I love the big things about our bathroom.. the paneling, the wallpaper, the floors… But I think I love some of the “little things” about the bathroom just as much.

We found this toilet paper holder at the local salvage store. I love it so much . I’m pretty sure I could have looked for hours and spent 10x more money and still not found one that I liked any better. I paid $15 for this one. It is in fantastic shape!
Next we turned our eyes towards the door hardware. It is almost 100% covered in paint throughout the house. What was underneath was pretty much a mystery.
 I had been so excited to try stripping the hardware in the 1980’s crockpot I picked up for just this task.
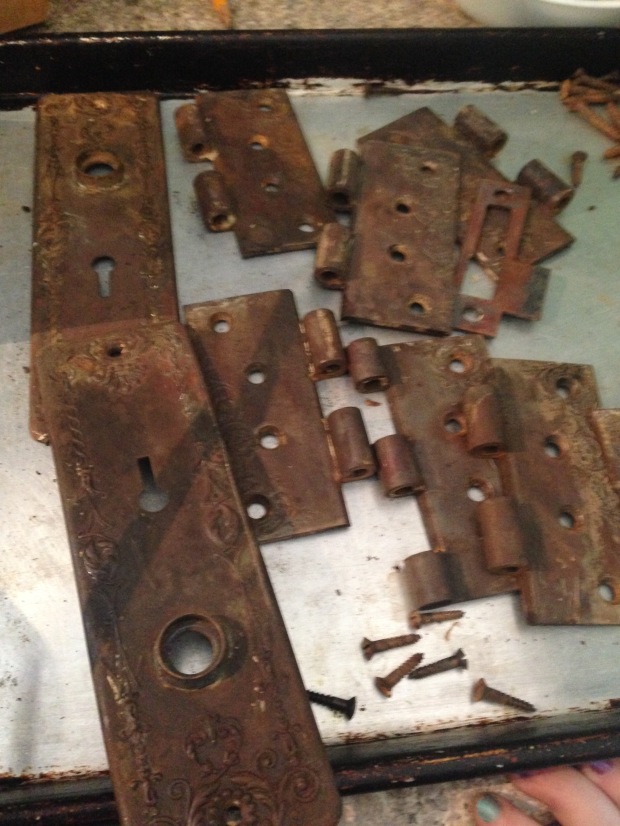
And it worked like a charm. I just used water and turned it to high for a few hours. This is what the hardware looked like when it came out.

And this is what happened when we scrubbed it ever so slightly with steel wool. I had NO IDEA we had copper finished hardware. I can’t believe that someone painted this!

HELLO!?!?! Why would you ever paint this?????

It amazes me that even our Victorian (which, is not super fancy) had such beauful, detailed hinges on the doors. These details make me think of Louisa Delong, the original lady of the house. I am certain she was the one in charge of picking the hardware, and I just love that it has flowers.
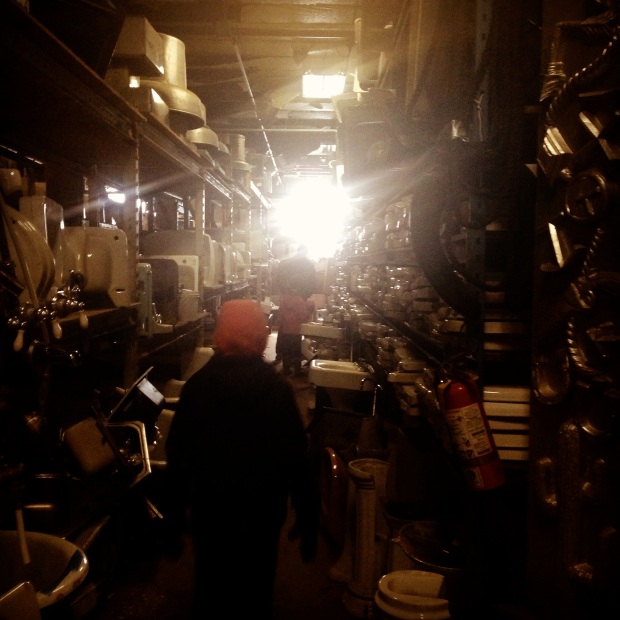
Next up! A light! Originally, there was a (non original) light fixture above the door that led to the powder room. We decided we’d prefer a light in the ceiling, and so we pulled that fixture out and patched the wall. And then we were SO HAPPY because it meant we HAD to make a trip to the local salvage shop. This is SO MUCH better and exciting that a trip to the local Big Box Store.


So many options, but in the end, we chose the porcelain fixture and shaek on the right.

Isn’t it lovely?
The next detail to mention is the picture rail. Our house had a lot of picture rail when it was built- there is a tell-tale grey smudgy line around many of the rooms. Someday soon, we are going to add it back to the library and living room. We had a little of some rail that was salvaged from our (you guessed it) local salvage shop, and we used it in this room. It was quite bowed, and Lance swears that he won’t go through that again… we will probably have the rail for future use freshly milled.

I think the brown softens up the charcoal very nicely. And it was crucial for hiding our flawed wall-paper hanging 🙂

And it ties the antique mirror in very well. And check out that coppery door hinge.
And that’s a wrap! At least until I hang some pictures and find just the right piece to hold toilet paper and hand towels in the corner.
We stood back and admired our work, more than I may care to admit… but then we quickly moved on to an equally exciting project , next door in the butler’s pantry.