Restoring the Landscape

Shortly after we moved into our home, we were able to make contact with the woman who lived here for over 40 years, and with her daughters, one of whom owned the house for 10 years until 2004.  I have pages of notes from our meeting and phone conversations, but so far have not shared anything; simply for the reason of not knowing where to begin!

But tonight, I thought I’d start by sharing some pictures of the yard… then and now.

The couple who lived here for all of those years, Gil and Donna May Ristesund, obviously cared deeply not only for the inside of the home, but the exterior and the grounds that surrounded it.  The yard- front, side and back was filled with perennials of all kinds.  Donna May, when she visited last year, shared with me that when they moved in, Bleeding Hearts greeted them as her new husband carried her over the threshold.  Needless to say, three Bleeding Hearts are now planted in the front.  Other plants that were mentioned were ferns (an extremely small one remains), irises (still present) and peonies (still present, but only one bush, compared to the many they used to have.

From the many photos of the yard that were shared with me, I could tell that the back yard was really a place that the family gathered.  There are pictures of family meals being shared, teenagers sunbathing and little girls in the 60s with their chickens.

backyard50s

The Ristesunds in the backyard in 1953. Are those irises in the corner?

backyardgarage

This picture was in the late 70’s. It shows the cement slab that was poured for the garage and screened porch construction

backyardouthouse

Before the garage could be built, the original double outhouse had to be removed. Not sure whether to be happy or sad it’s gone

backyardside

The South side of the house- not included in the fenced in backyard. Look at all of those peonies! Now, there is nothing there.

backyard1

The backyard showing the Alley. Now there is a fence blocking the view

Backyard

The chicken coop stands where this cement slab and swing are

backyardbath

A little cement birdbath at the base of the hackberry tree. It is no longer there, but I have learned that it was there when the Ristesunds moved in in the 50’s. Since they bought the house from the original owner, that means that it was an “original” landscape feature. I think we are going to have to bring it back.

By the time we received the house, the backyard was in extreme disrepair.  There were far too many trees present, cutting out nearly all of the sun and killing the grass.  A year ago, we cut down four trees in the back yard.  This spring, we took advantage of the lift we had for construction, and limbed up the gorgeous hackberry in the center of the yard.  This helped, but there are still 5 trees yet to come down.  In their place, we plan to plant smaller fruit trees.

IMG_2507

The view from our backdoor in May. Seriously. Can you believe I put up with this for 18 months with 3 kids and a Labrador???

IMG_2224-0 IMG_2225 IMG_2223

And so, finally, we were able to proceed with backyard work.  I consider it to be part of the restoration of his house.

Step 1:  Bring in Dirt

IMG_2558

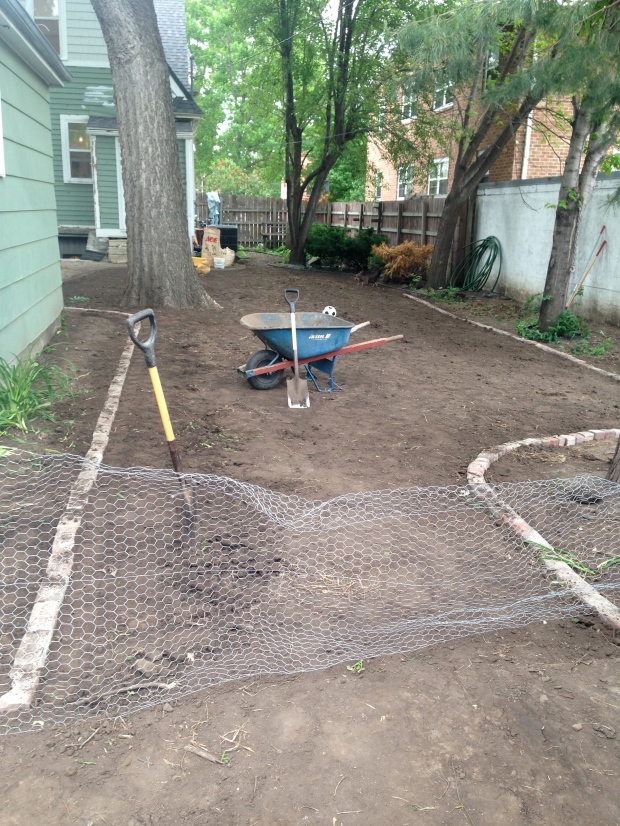
Lucky me- we own a landscape company! My husband got the BIG Truck and brought in a pile-o-dirt to fill in all of the low and uneven spots in the yard

Step 2:  Smooth It Out

IMG_2561

We couldn’t believe how much better it looked… just with smooth, flat dirt!

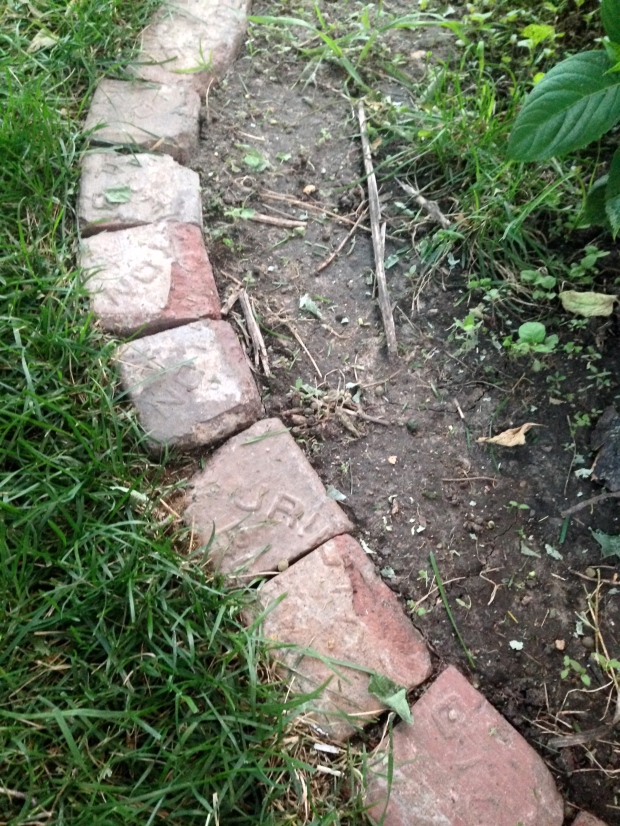
Step 3:  Add Edging.  We used 100+ year old, broken Purington Block pavers (google it- they are valuable!).  My husband had a job in Sioux City last year and the contractor was getting ready to THROW AWAY roughly 16 pallets of these treasures.  So of course, we loaded them onto a trailer and paid a semi to drive them an hour north to Sioux Falls.  We have most of them in storage for future paver walk ways and patio, but we used some of the broken ones to edge out the planting beds.

IMG_2807

A close-up view of the pavers. Each one says “Purington Block”

Step 4: Add Irrigation:  I don’t have a picture of this, but my husband was able to use spare irrigation heads he had from the business and install a simple irrigation system.  With all of the shade we have, plus a dog, we knew that we’d have to have one to keep things looking green.

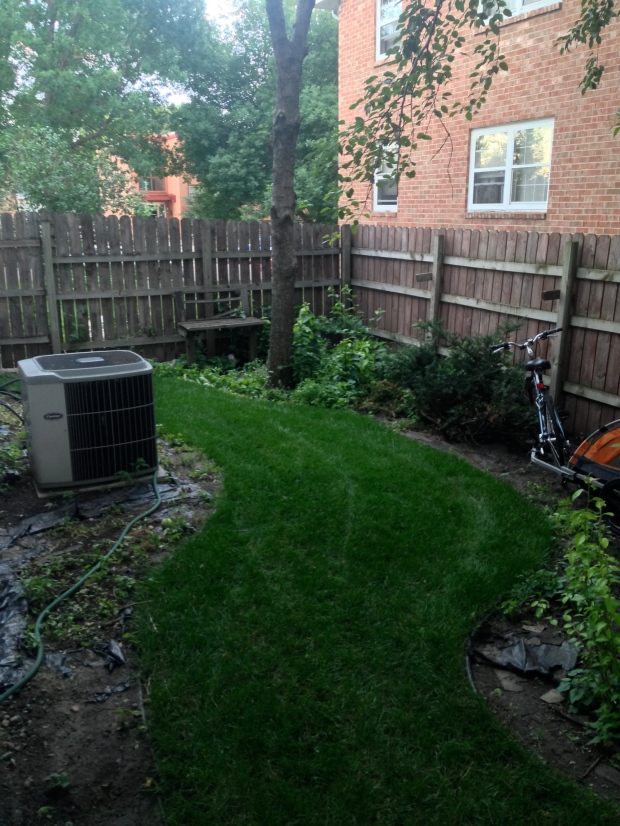
Step 5:  Add Sod:  We got this for FREE!  My husband’s sod supplier was not going to use it, and by the time the next week rolled around, it would have been dead.  We picked it up on a Sunday morning, laid it out and nursed it back to life.

IMG_2609

IMG_2611

The chickens were skeptical… way less dirt to take a dust bath in…

Step 6:  Practice grass appreciation

IMG_2793 IMG_2797 IMG_2799

There is still work to be done.. but it has come a long way in a month.  I think Mr. Ristesund would be glad.

A Bat, a Bird’s Nest, and a Beast

It was about a week ago that I finally settled onto the couch at about 9:30pm after a long day of mom-life.  Imagine my surprise when, seconds later, a bat fluttered into the room to join us.  What followed would best be described as a flurry of profanity-laced activity.

20150616-220357.jpg

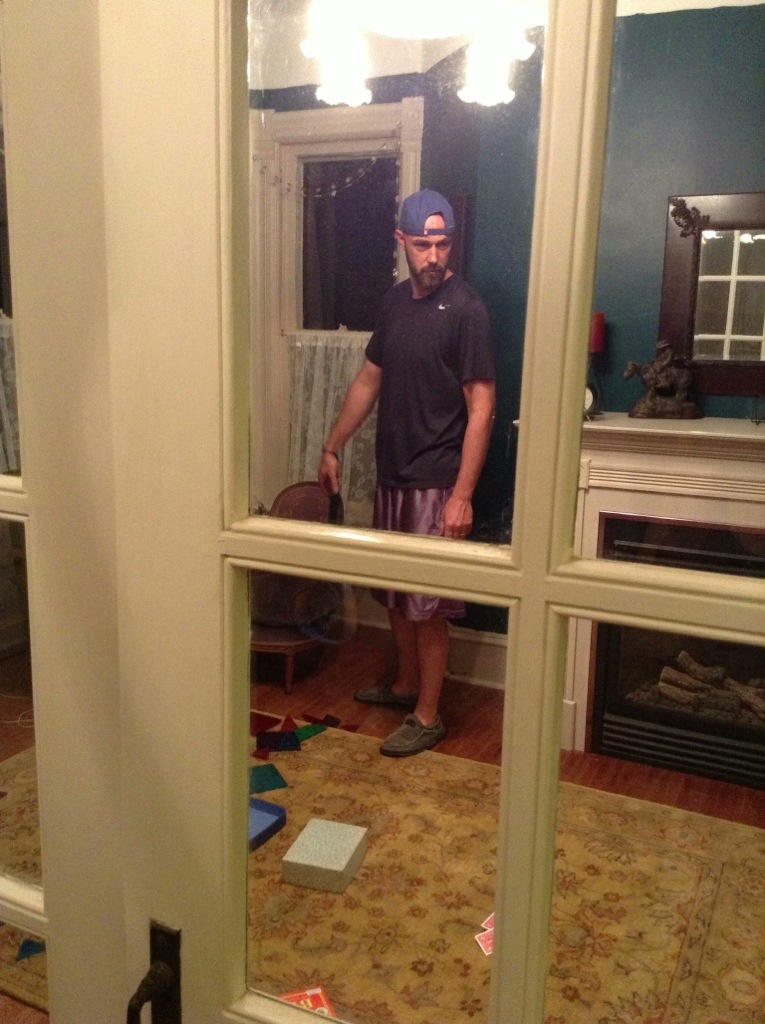
My husband, racquetball racquet in hand, in his best best bat-hunting pose

We thought we had trapped the bat in the library, but then couldn’t find it.  Surely it hadn’t escaped… it must just be hiding.  So, off I went to bed and Lance stayed up to keep watch.

-11:00- I turn out the light

-11:15- I wake to hear my dog sniffing the door.  I open my eyes.  The bat is flying above my head

-11:16- What follows could best be described as a second flurry of profanity-laced activity and ended with this quote by Lance (racquetball racquet in-hand):

“I got him!  But… DON’T MOVE.”

Next we move on to a sweeter side of nature:

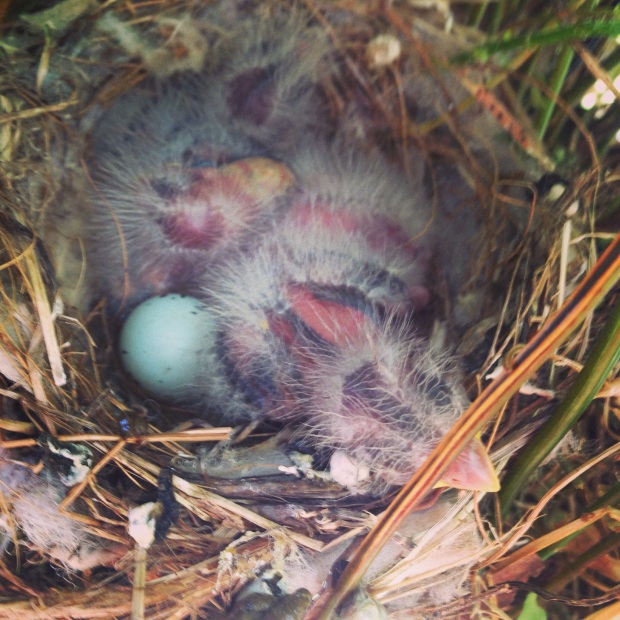
There is a cute little bird’s nest in one of the ferns hanging on my porch.  A little mamma sparrow has chosen my Costco fern as a place to birth her family.

image

This week’s house projects involved tackling painting the rear of the house.  We are close to getting it done (Dad and I).  Lance’s weekend project was venting the dryer out of the attic, which is pretty boring, but very practical.  I did not photograph his achievement.  I’ll leave it to the imagination.

As we are closing in on the completion of our Victorian House Painting Adventure, I can say I am glad for many reasons that we are doing it all ourselves, but also can say that I DON’T want to do it again!!!!!  It has been a beast of a project!

image

Scraping, scraping and more scraping. See all of the round circles we scraped off? There were hundreds of little air bubbles under the paint- way more in this are of the house than others. I wonder why? I suspect it has to do with moisture. This is a very shady side of the house.

image

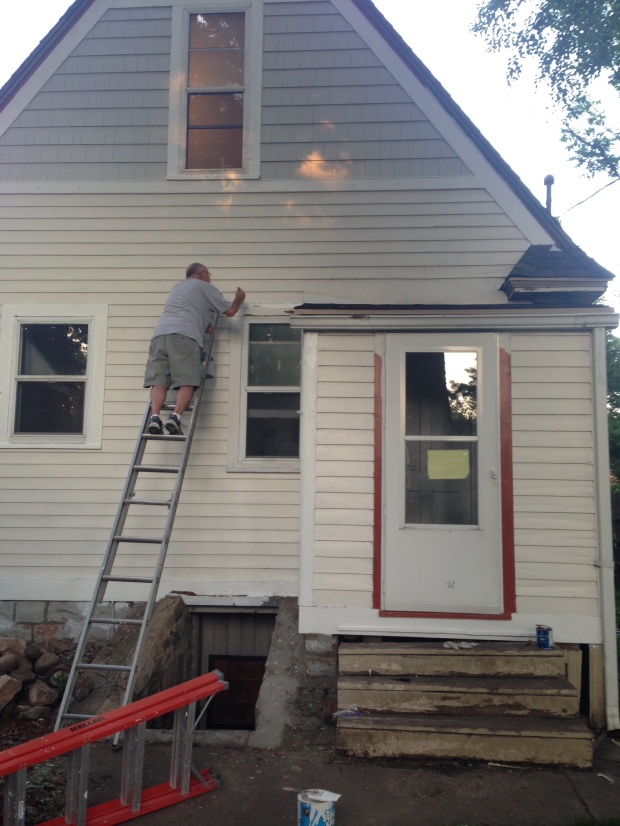
Good Old Dad up on the extension ladder. I held it for him and drank iced coffee.

image

While painting the breezeway, I thought- “Hey- maybe I should paint the trim around the door orange. It will add a nice pop of color.” Clearly, I was under the influence of paint fumes and ibuprofen at this point. This was NOT a good idea. Tomorrow it will be repainted bright white like the rest of the trim.

Lost and Found


We made some discoveries here this week.  The first one was found while digging in our back yard for an irrigation system.


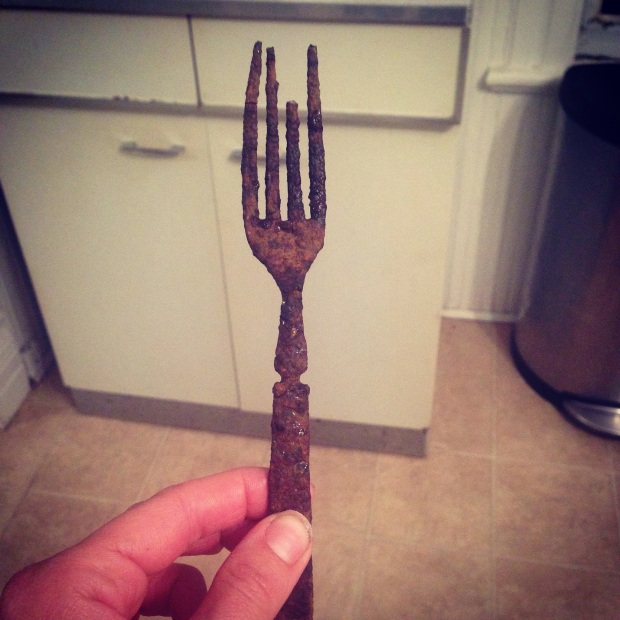
This pretty little fork… nearly rusted through to the core.  I soaked it in CLR for a while, but it made no difference.  It’s hard to tell what it was like originally, but I think it was fancy.  I can make out just a hint of a swirly pattern under the rusty surface, and the little indentation on the handle makes it seem like it would have been part of someone’s set of silver.


If anyone has any ideas about this piece, or how to get rid of the thick coating of rust, I’d love to know.IMG_2631.JPG


The second discovery came yesterday, during some intense yard work.

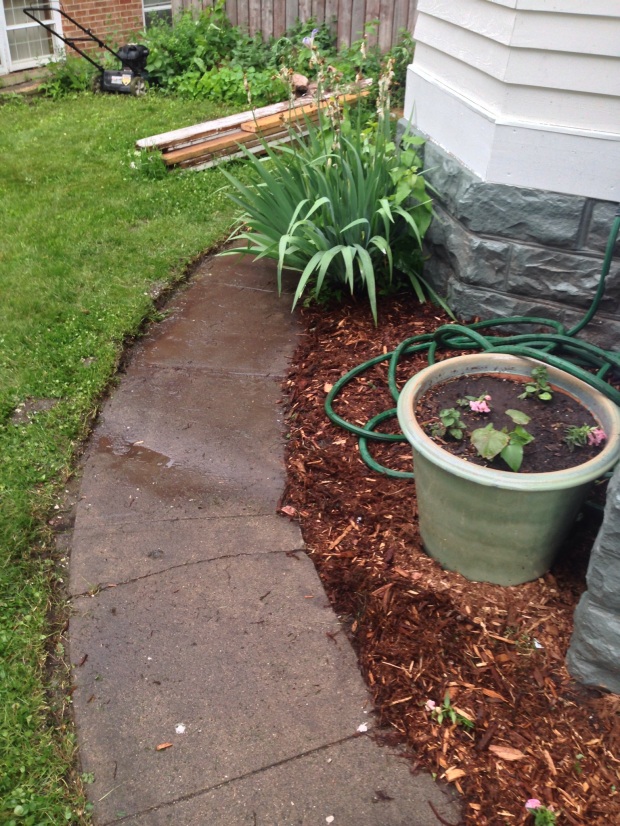
We found a sidewalk.  About half of this lovely, old piece of concrete was under a thick layer of dirt and sod.  We had a feeling it was under there, but hadn’t gotten around to unearthing it until now.  Doesn’t it look nice?  IMG_2682.JPG

A view from the other direction.  A new cover of fresh mulch always brings me cheer.IMG_2680.JPG


In unrelated news, we also removed a half-dead shrub and planted the area with some annuals.  I very good solution for this year.  We have some work to do under the porch, so we wanted to wait to put perennials in.IMG_2678.JPG

Northern Exposure

Every day for the past 1.5 years, I have been hating the wall color of my dining room.  Now, this same color is in my bright and sunny kitchen, and I love it.  But next door… hate it.  Blah.  Depressing.  Yuck!

IMG_1823

Before. See what I mean? This color did NOTHING for the room, or the furniture that was in it.

Even though there are a billion things yet to do outside right now, I had finally had it with those pale blue walls.  Enough was enough.

But… what color to pick?  I didn’t want it to be a color-color.  No blue, green, yellow or red.  I am planning on painting the keeping room and kitchen a bright blue or green, and with the Peacock walls in the Library, I knew I needed to keep the dining room neutral to help the flow of the house.

I googled “what to paint a North-facing room” and found some justification in my hatred for the poor pale blue walls.  Basically, what I learned was that if you have a North facing room (yes), especially with few windows (yes) or with limited light coming in through the window(s) (yes), then you need to create a false sense of warmth with your paint color.  Cool and/or pale colors (blue, green, gray) will not reflect any light, because there is no light available for reflection.  Instead, dark, warm colors were suggested.  Reds, yellows, oranges, emerald greens.

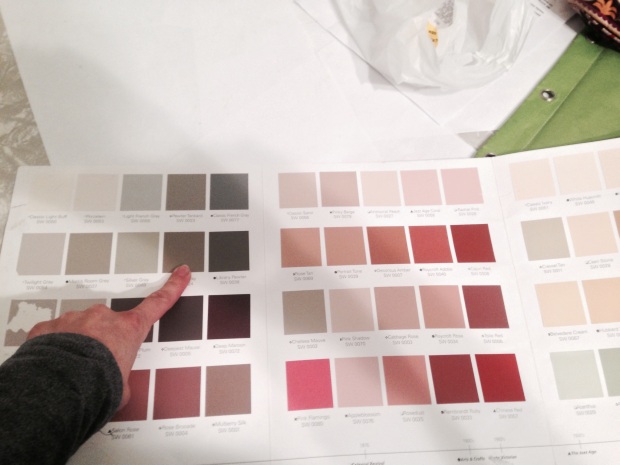
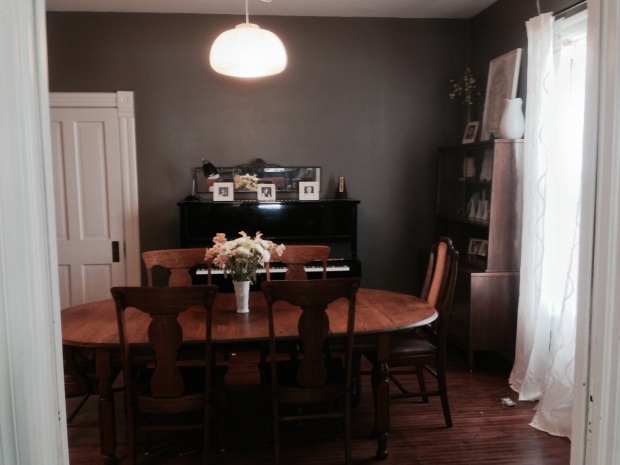
But I didn’t want a color-color. I turned to what is becoming my favorite paint color resource- the Sherwin Williams Historical Color Palate. My eye immediately went to “Library Pewter.” It was so, rich and dark. It seemed funny to think of painting our notoriously dark room such a dark color, but I really couldn’t come up with a different idea.

IMG_2613

So I bought a sample and went to work.

Then I got scared. It was SO DARK!

IMG_2570-0

So of course I consulted social media, where I was almost unanimously given the ok to proceed. And so over the next two days, I went for it.

And then I stood back.

Then I smiled.

IMG_2584

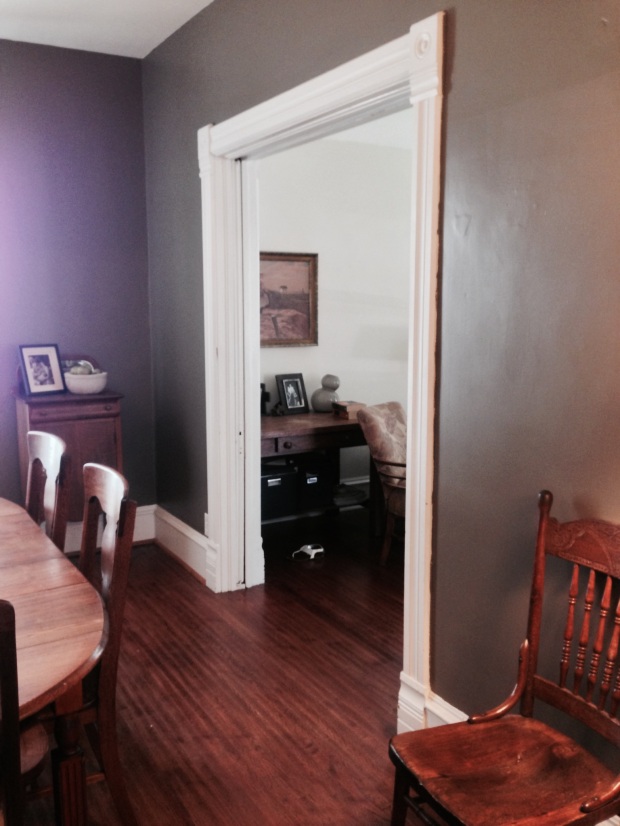
I mean, seriously. It’s so much better it makes me want to cry.

20150530-210538.jpg

A view into the Keeping Room. The pale blue on those walls is the same, but the bright, many windowed room with Southern exposure makes all the difference. Our 1889 map of South Dakota hangs on the wall. 1889 was also the year our house was built.

IMG_2595

The sweet chair I picked up off a facebook swap for $15

IMG_2586

The view into the Living Room. I love how the dark pewter brings out the gray in the color we chose for the living room (Lancaster Whitewash)

IMG_2599

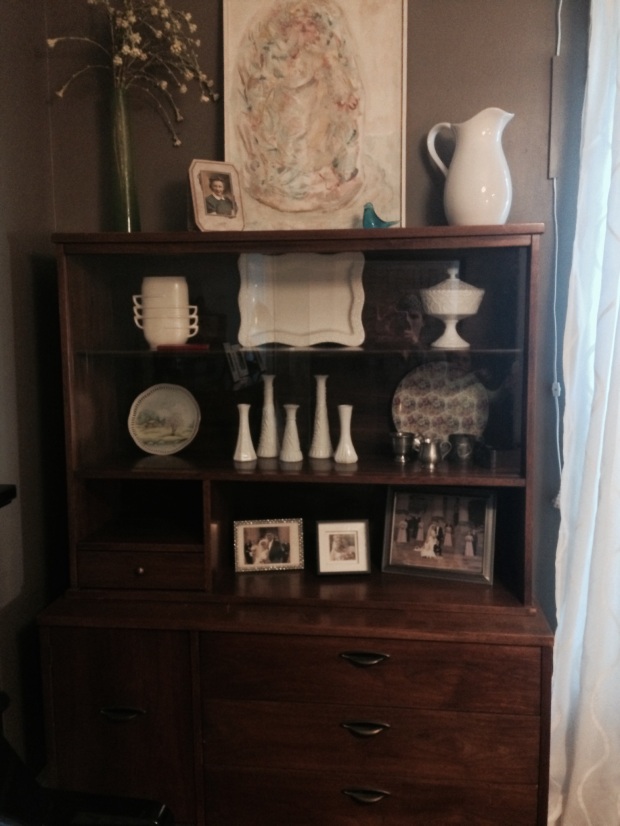
Our mid-century hutch ($80 on Craigslist). The pewter makes everything about it pop. The painting belonged to my great aunt (her picture is next to it). The blue bird and white Redwing vase belonged to my grandmother. My collection of pewter cups includes one that belonged to my great, great grandfather. Treasures, all of it.

IMG_2591

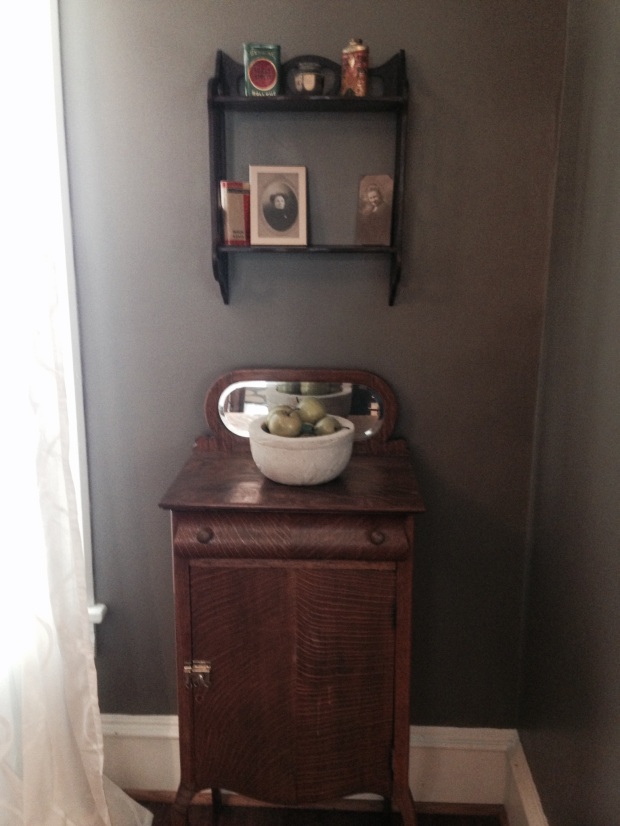
A music stand/ turned liquor cabinet

20150530-210546.jpg

The fresh coat of paint also inspired me to put up a special little shelf I’ve been storing for quite a while. It belonged to my Great-Grandma and namesake, Ovedia. Her picture is the one on the bottom right. The one next to it is my other Great-Grandma paired with the Norweigen-English dictionary she used when she Immigrated in the 20s. On the top shelf, are 3 treasures pulled from the rubble in our crawlspace 1) a Lucky-Strike tobacco tin with a 1916 stamp 2) A cold cream jar that still contains cold cream and 3) a Talcum powder tin, still containing talcum powder. It is wonderful to have a little spot to highlight these little trinkets.

This change cost me $35 for a gallon paint.  I can’t get over how much I love it.  It truly transformed one of my least favorite rooms to one that I love spending time in and am so proud of.  Picking out the right paint color can be tricky, but this is proof that if you take your time and do your homework, you can hit a home-run.