Bathroom Rennovation- 2 months in

I think we may be in the home stretch.  This week we have accomplished laying the radiant heat, laying the checkerboard floor (no grout yet) and hooking up one of two antique sinks.

Here are some details about the sink:

Taking our tastes and our budget into consideration, finding an antique sink on craigslist was the way to go for us- no question.

A console sink like this new would cost ~$130 .  The faucet would be another $100.  At an architectural salvage store we went to in the cities, a near identical antique sink was $200.

We found this one on craigslist for $60.  Sold.

The chrome drain pipes cost another $20.  So for $80, we had a beautiful, functional, recycled antique sink that goes beautifully in our antique house.

IMG_2126

It is a kohler sink, manufactured in 1952 (the stamp was on the bottom). It was in great shape, but I cleaned up the porcelain with a little comet. The bottom had a little rust showing through, so I sanded it and painted it with the same black paint I used to paint the tub.

IMG_2106

I’ll discuss the floors in more detail next time, but here’s a sneak peek…

IMG_2122

We got the grant!

imageI forgot to mention the fact that on Christmas Eve this year, we got an envelope in the mail informing us that we are recipients of one of the Deadwood Fund grants!  This is a matching grant that will allow us to re-tuck the foundation and also put on new cedar-shake siding on the upper level of our house.  The cost for all this work is $10,000, but with the grant, we’ll only have to pay half of that and our house will receive much needed attention in those areas.

The local newspaper contacted us after receiving the press release announcing the recipients, and asked if they could do a video story on us and our house.  What better excuse to get my house cleaned up?  We said yes, and the link below shows the result.  They hope to return in late summer when the work to the exterior is finished.  How’s that for accountability?

http://www.argusleader.com/media/cinematic/video/22794459/video-restoration-begins-on-1889-main-avenue-house/

Bathroom Rennovation… will it never end?

It has been 6 weeks since we began our project and we are still in the thick of it. There is a light though… I think I can see it beyond the piles of tile, paint cans and empty bags of mortar and grout. Since my last post, the major accomplishment was that

1) I finished painting the walls

2) The tile is up on the walls

IMG_2036

IMG_2037

3) I found that elusive 42″x 18″ cabinet I had been seeking on Craigslist.  It is solid wood (I think cherry) and was $60.  It would have cost over $600 to have one custom made, so  I’m calling that a win for the budget!

Here’s a picture of the one I was going to have custom made:

sink cabinet

Here is the one we found:

IMG_2090

Not the exact same thing, but I think close enough for a $600 savings.  We are going to think about making new doors for it, but they might not be too bad once painted.  I think we’ll paint it white, but I’m not sure on that.

Goals for this week:

1) Start and finish grouting wall tile.

2) Hook up shower ASAP and immediately take one

3) Hook up small sink

3) Begin laying radiant floor heat

4) Start laying the floor tile??

Bathroom Renovation: One Month Down

It has been a month since we began our little project upstairs and kissed showering goodbye.  Finally, this week things are starting to get fun.  By fun I mean, they are starting to look better and not worse.

Here is what we accomplished this week:

IMG_2017

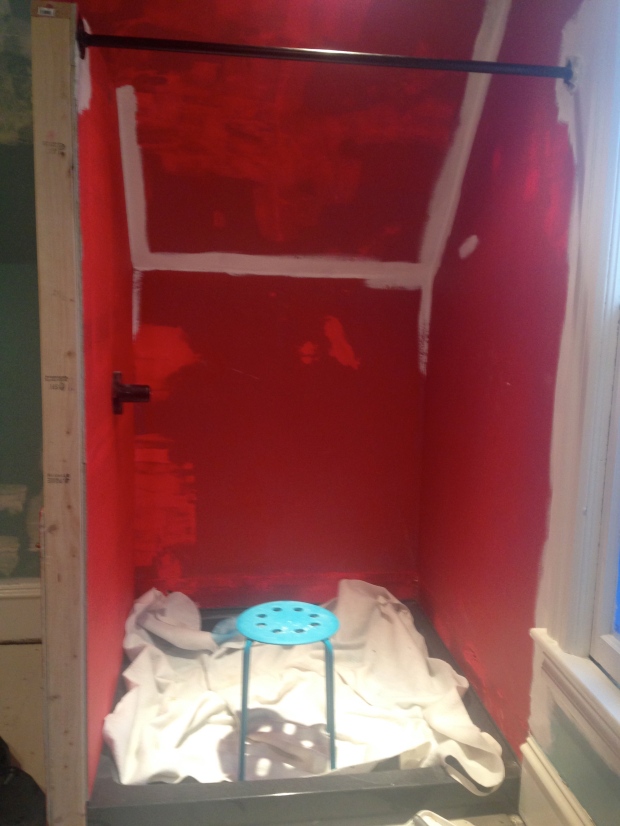
We painted a water-proofing compound in the shower area. It was weird, thick pudding-like stuff that dried hot-pink.

The shower curtain rod was also installed. It needed to serve as a way to strengthen the wall we built to house the shower, so we used iron gas pipe and just painted it with the same black paint used to paint the tub.

IMG_2028

Our shower base came in and (bonus!) fit into the space we had built for it.

The thing about the shower base:  I have a love-hate thing going on where it is concerned.  Love:  it looks nice, it will last forever, it was a piece of cake to install (basically just drop it in and you’re ready to go).  Hate:  It was so darn expensive that it makes me want to puke.  I won’t go into details, but it will cost us more than any other part of our bathroom.  It was either go with the cheap, ugly white vinyl base that won’t last or look very nice for too long, or pay 6x more for the fancy acrylic polymer one that will last and look nice forever.  We went the expensive route here, which is not something I am used to doing.  I guess the 3rd option was to build a base from scratch, but Lance was having none of that.  Plus we would like to shower sometime before Spring.

IMG_2026

I painted the trim and ceiling (Decorator’s White by Benjamin Moore) and the walls (Cabbage by Valspar). I was right. I liked the Cabbage color much more outside of the closet.

I painted for 12 hours on Saturday, determined to get.it.done.  I was forced to quit when I ran out of paint with about 10% of the walls to go.  The next day, we picked up a quart of the same color, same paint.  However, after painting the rest of the room and touching up spots on all of the walls, I realized that this was NOT the same color.  It was more… yellow.  Not good.  Now I had yellow splotches all over the room.  Bah!

I went back to ACE Hardware today to explain what had happened, and they fixed the problem.  It turns out that the colors they used to mix the gallon are three completely different colors than used to mix the quarts.  The result was 2 colors very similar to each other, but,  different!  Crazy.

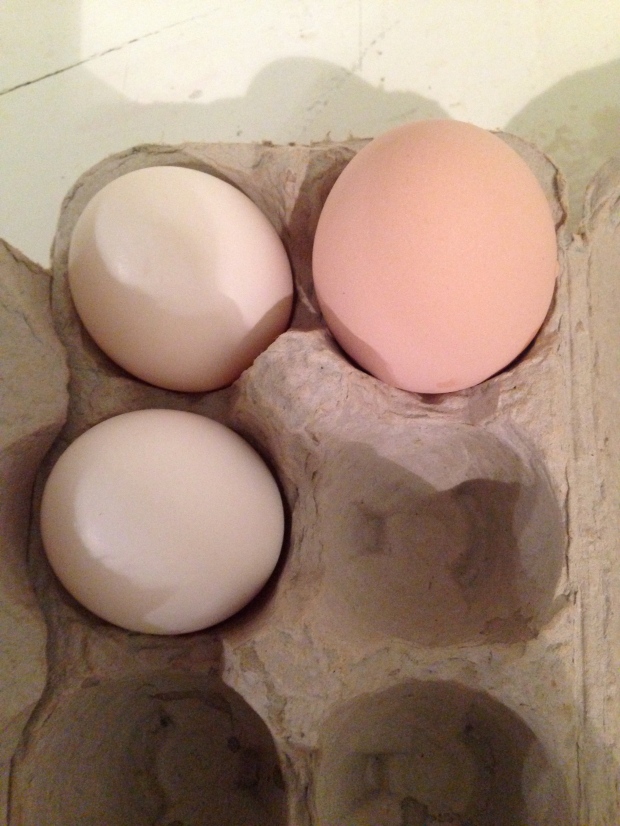
In non-bathroom related news, the chickens began laying again!  Between the 4 of them, they are giving us 3 eggs a day- that’s 21 eggs a week!

IMG_2025