The first thing we needed to do was repair a bit of ceiling that had been damaged by water- both before and after we owned the house. Most recently, when we remodeled the upstairs bath and moved the tub into the closet, there was a miniscule leak, that after 2 WEEKS finally saturated the dry wall enough to begin to drip onto the butler’s pantry floor. THAT was NOT a fun discovery. We decided that the odds of having water issues with both the toilet and tub directly above were pretty high, and so we cut access panels into the ceiling board. 
Next, we began to strip the butler’s pantry cabinetry. We used a heat gun- it worked great!! I was extremely cautious with it- never leaving it plugged in when not in use.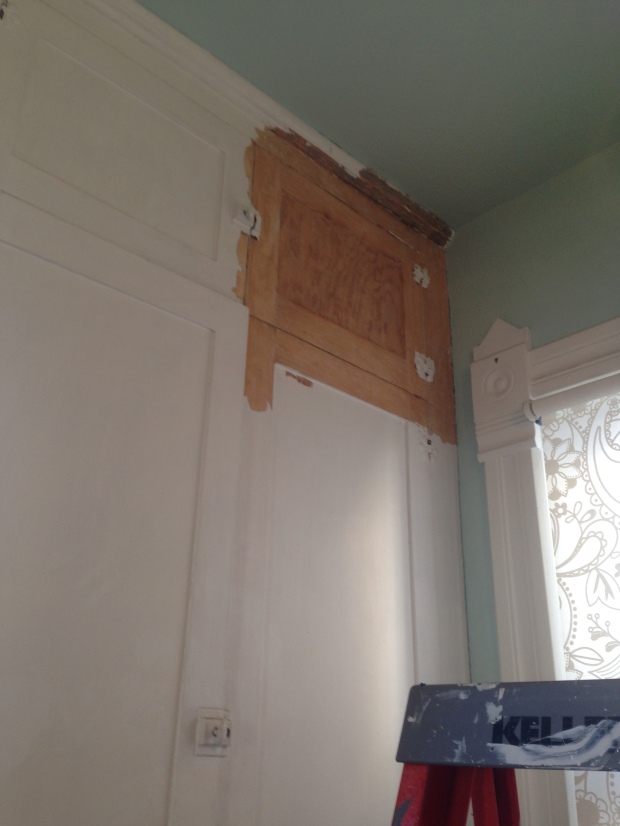 We are not positive what the wood is. We thought it would be pine, but it seemed lighter than expected… maybe it is poplar?

What a mess.
We are also not sure what the orignial finish of the cabinets was. When removing the original hinges, we found this finish underneath. Maybe it was milk paint or pickling? 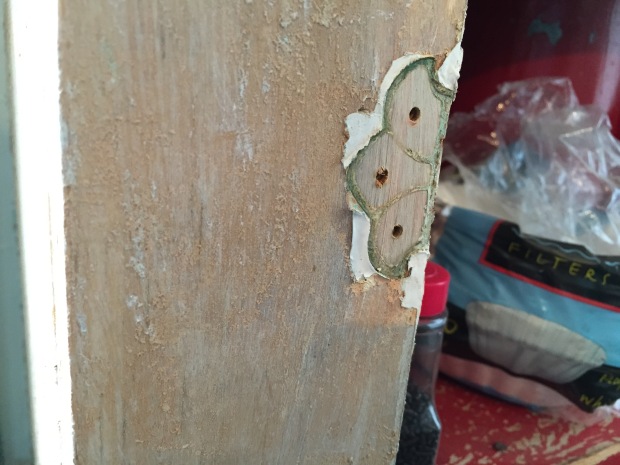
The other suprise was that underneath a laminate cover, the original beadboard back-splash was in place. I had no idea this was there! I love how even when you think you know every inch of a house, it still has suprises waiting for you.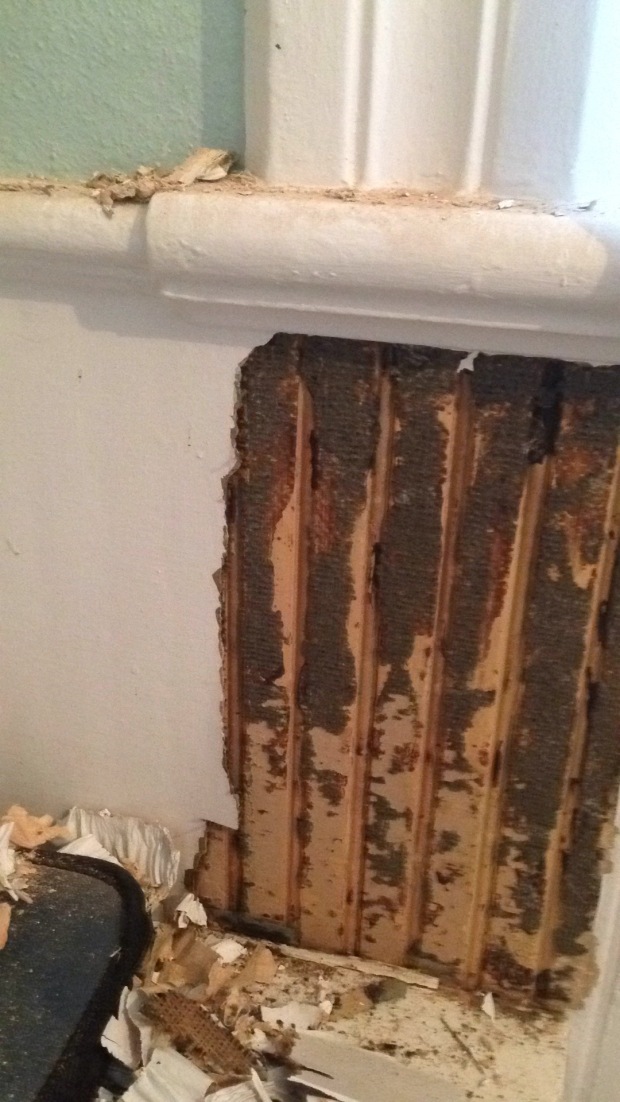
I used a putty knife pry the laminate off and then the heat gun to melt the old glue. It worked great.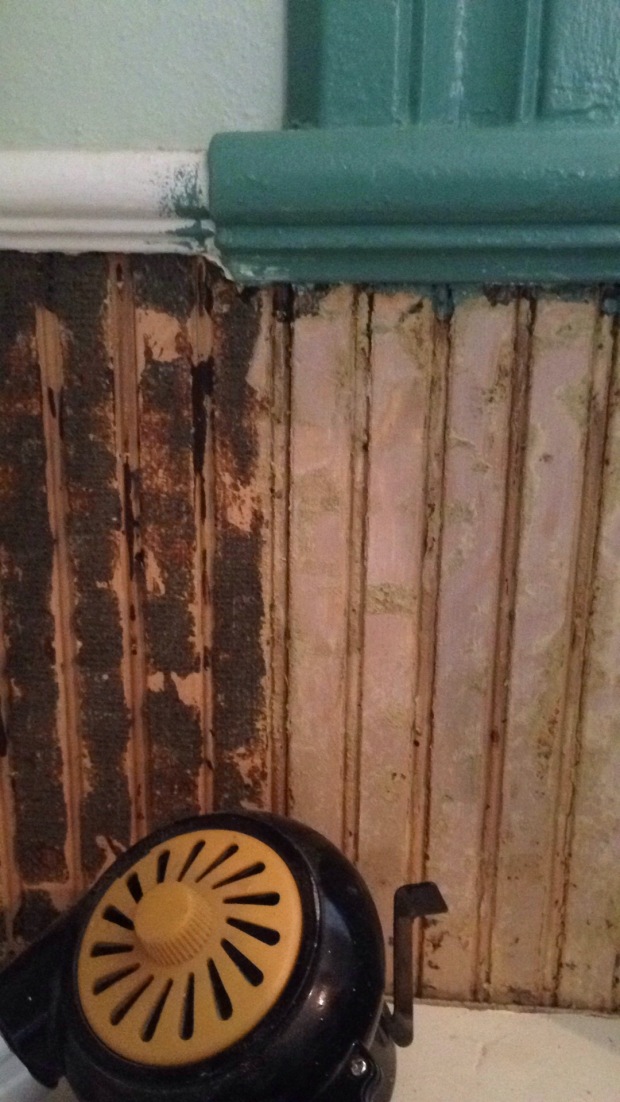
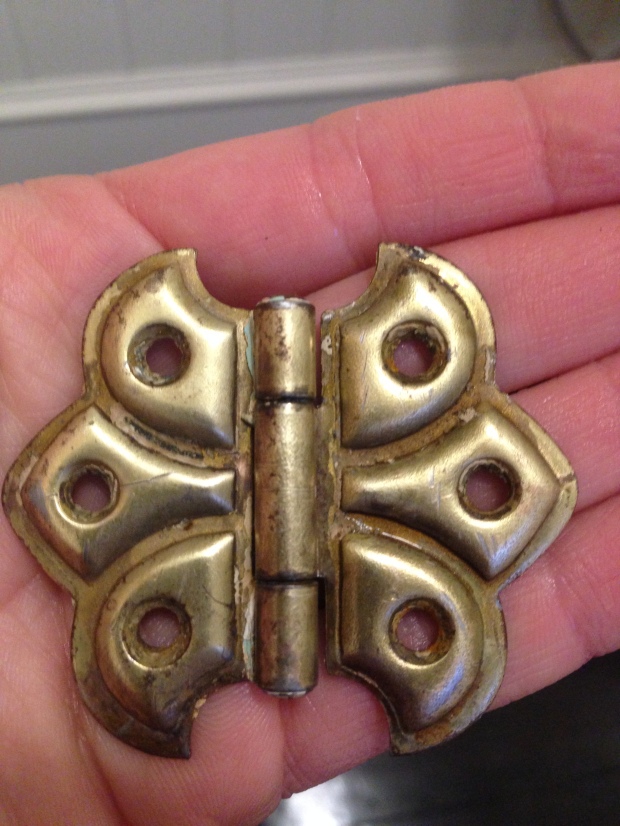
Next on the list was stripping the cabinet hardware. It looked like there were at least 3-4 layers of paint on them. We gave them a soak in the crock pot and the paint came right off.


The hinge on the right shows what we thought was the original finish. Kind of a cheap gold color. We were disappointed. But after scrubbing with steel wool, it became clear that this was also a paint job! The orignial finish is shown on the hinge to the left.
So much better. Now, why would you ever want to paint this???